Model Home Preparations
From wood floors and windows to lighting and signage, a few minutes of review can make a world of difference for your professional photos.
Preparing a Model Home for Professional Photography
by Jennifer Cherock – May 25, 2020

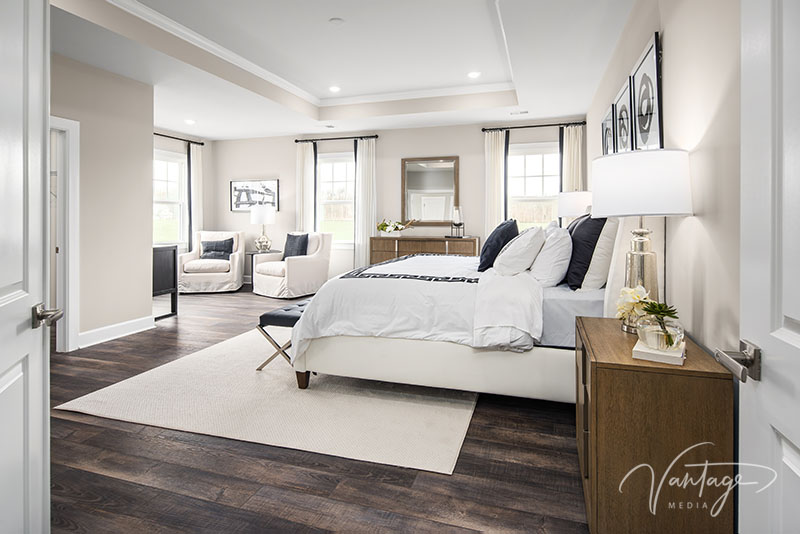
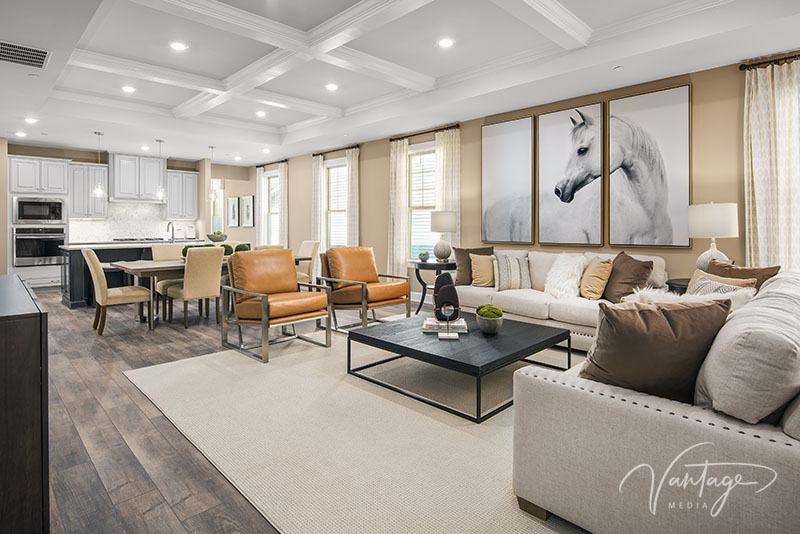
Professional model home images convey your brand’s architectural style and staging refinements with accuracy and detail. With the vast majority of home buyers shopping online, first impressions count, and the stakes are much higher with home builders, whose images may be used to sell millions of dollars in inventory.
While builders may enjoy the benefits of professional interior design and staging in homes that are free of clutter and personal effects, there are several things your staff can do to ensure that your model home marketing images maximize their potential.
While builders may enjoy the benefits of professional interior design and staging in homes that are free of clutter and personal effects, there are several things your staff can do to ensure that your model home marketing images maximize their potential.
Here are five of our top recommendations for preparing model homes for interior and exterior photography:
1) Interior & Exterior Cleaning
For interiors, windows, wood floors, counters and stainless steel appliances are among the most important items to clean. Modern, high-resolution cameras can easily capture the details of these surfaces when dirty, and they are among the more difficult to resolve with editing touch-ups.
For exteriors, construction dust often coats driveways, porches, water tables and discolors trim. It’s never a bad idea to treat these areas with a power washer before a photography session.
2) Landscaping
We routinely Photoshop trees, shrubs, lawns and other landscaping attributes as needed. However, fresh mulch and a mowed lawn can give your exterior images a natural pop that can’t be achieved as easily in editing.
3) Lighting
All interior lighting should be operational, with matching bulb wattage in symmetrically placed lamps and uniform color temperatures among bulbs. We recommend Cree brand bulbs, with temperatures of 3000k for most living spaces, and up to 5000k for kitchens and baths.
For exteriors, ensure that all lighting is operational, to include porch lights, garage lights, and low-voltage landscape lighting.

4) Signs
We like to remove signs from exterior model home images, and do so both physically and in post-production through editing. If large signs are present in front of the home, you should have your production staff take them down prior to the photo session. Failure to do so, can have a significant impact on one of the most important images you’re paying for.
5) Furniture & Artwork
Furniture and rugs should be properly aligned to your staging and design specifications. The camera captures every detail, and when heavy pieces of furniture are not properly aligned with a wall or a rug, photographers often have no choice but to shoot as-is.
While we routinely review all staging elements and remove signs at the start of a shoot, your attention to these items will help to ensure that you receive the best possible marketing images for showcasing your product. Our complete Model Home Photography Preparations worksheet is at the link below. We’d love to hear your thoughts on these and other recommendations. Please contact us if you have a comment or something to add.
Model Home Photography Preparations (PDF)
Schedule a Professional Photography Session
From model homes and communities to local shopping, dining and recreation, we set the standard for national builder marketing imagery best practices.

